Custom event tracking in Android helps you understand how users interact with your app beyond basic metrics. By tracking specific actions, you can improve user retention, fix usability issues, and boost conversions. Here's a quick summary:
- Why It Matters: Over 90% of users stop engaging with apps within 30 days. Custom event tracking identifies where users lose interest, so you can take action.
- Key Tools: Popular SDKs include Firebase Analytics (easy setup), Singular (campaign tracking), and PostHog (autocapture functionality).
- How to Start:
- Choose an SDK based on your app's needs.
- Add it to your Android Studio project.
- Define and code custom events, focusing on actions that align with your business goals.
- Testing: Use tools like Firebase DebugView to validate events in real-time.
- Privacy: Ensure compliance with laws like CCPA by implementing consent management and collecting only essential data.
Custom event tracking transforms raw data into actionable insights, helping you refine your app and deliver a better user experience.
How to create Custom Event in Firebase Analytics (Android)
Setup Requirements and Initial Configuration
To effectively implement custom event tracking, start by equipping your app with the right tools and settings. A proper setup minimizes debugging headaches and ensures your tracking data is accurate. Selecting the best analytics SDK for your app is key - this choice should align with your audience and goals.
Required Tools and SDKs
When it comes to Android custom event tracking, Firebase Analytics, Singular, and PostHog are popular choices. Each offers distinct features tailored to different use cases and marketing objectives.
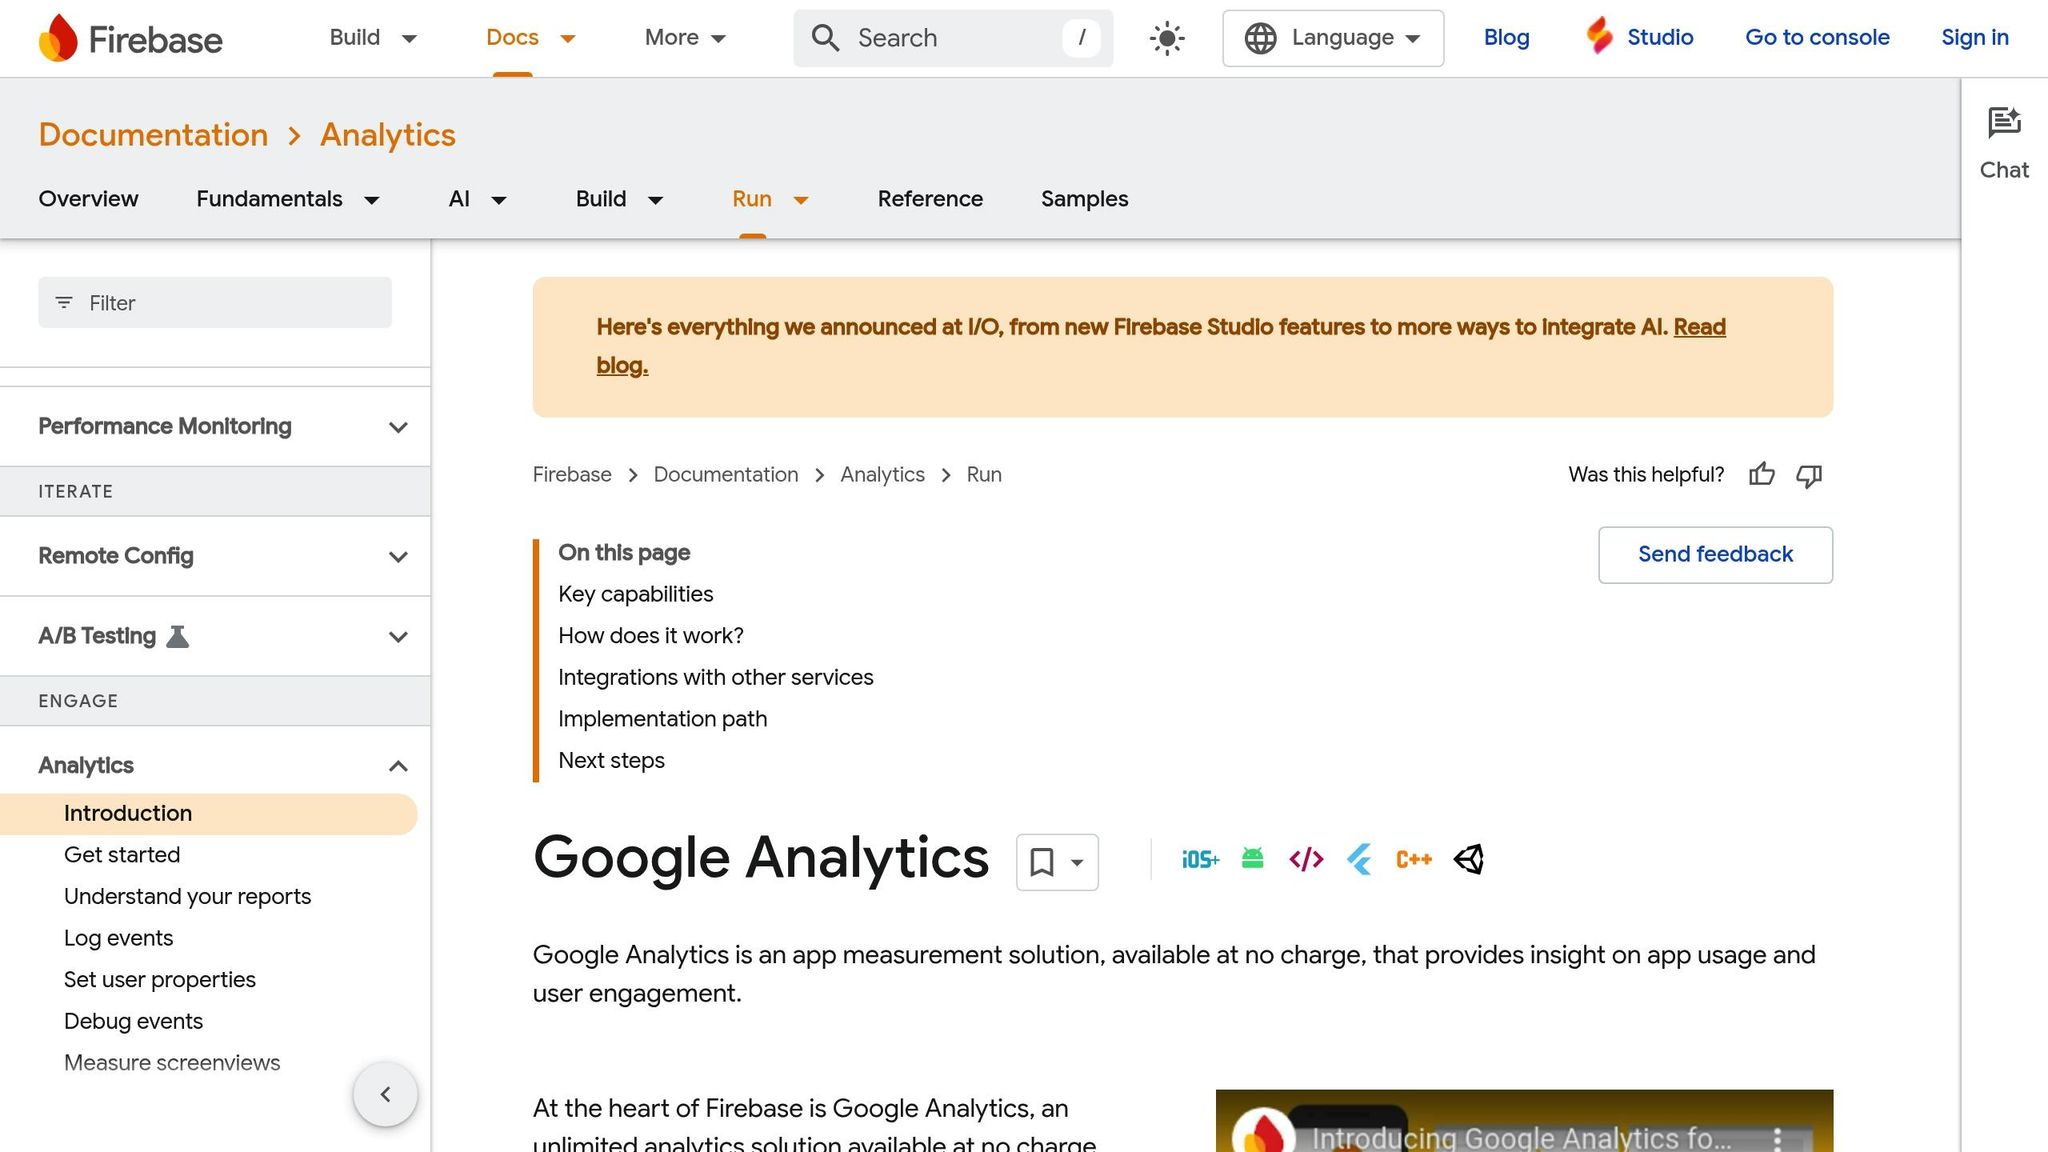
Firebase Analytics is a solid option for developers seeking a straightforward setup. It automatically logs essential events like app launches and screen views, reducing the need for manual coding. Additionally, it integrates seamlessly with Google services, making it an excellent fit for apps already in Google's ecosystem.
Singular specializes in campaign performance analysis and supports a range of predefined events compatible with ad networks. This makes it particularly beneficial for apps with significant marketing investments, as it helps track return on ad spend across various channels.
"Singular can collect data about in-app events to help analyze the performance of your campaigns and measure KPIs." – Singular Help Center
PostHog stands out with its autocapture functionality, which automatically tracks events like app launches, deep link activations, and screen views. This feature is ideal for teams looking to implement comprehensive event tracking without extensive manual effort.
The choice between these SDKs depends on your app's specific needs. For example, gaming apps may find Singular’s campaign tracking invaluable, while productivity apps might prefer Firebase for its Google Analytics integration. Once you've selected an SDK, the next step is to integrate it into your Android Studio project.
Adding SDKs to Android Studio
While the integration process varies slightly depending on the SDK, the general steps involve configuring Gradle and setting up your project.
Firebase Integration:
To integrate Firebase, start by creating a Firebase project and registering your app with its package name. Download the google-services.json file and add the Google Services Gradle plugin to your project. Alternatively, you can use the Firebase Assistant in Android Studio by navigating to Tools > Firebase, which provides a guided setup process.
PostHog Integration:
For PostHog, include the PostHog Android SDK in your build.gradle.kts file with the following dependency:
implementation("com.posthog:posthog-android:3.+").
Next, configure the API key and host in a Kotlin class and register the setup in your AndroidManifest.xml file.
After adding the necessary dependencies, sync your project to avoid tracking issues.
US Localization Settings
Accurate event tracking requires proper localization settings. Android users can customize their language and locale preferences in device settings, so your app should respect these choices rather than defaulting to a single location.
For US-based users, ensure your app adheres to standard US formats:
- Dates: Use MM/DD/YYYY.
- Currency: Display dollar amounts with the
$symbol. - Temperature: Use Fahrenheit.
- Week Start: Set Sunday as the first day of the week.
To maintain consistency, use Android’s built-in formatters for handling time zones and regional settings . Additionally, set English (US) as the app’s default language if that matches your primary audience. This ensures that if localized resources are unavailable for a specific locale, users will still see familiar language and formatting.
Creating and Coding Custom Events
Once your SDK is set up, the next step is identifying key user interactions. Custom events allow you to track specific actions that standard analytics tools might overlook, offering a more detailed view of how users interact with your app's features.
Event Naming and Planning Guidelines
When planning custom events, aim for insights that directly tie to user behavior and support your business objectives. Instead of tracking everything, focus on what will help you make meaningful improvements to your product.
Focus on Business-Relevant Actions
Custom events are most effective when they measure actions connected to your app's success metrics. For example, in an e-commerce app, tracking purchases with details like price and product name provides more actionable data than generic events like button clicks.
Avoid duplicating events that your SDK already tracks automatically. For instance, Firebase Analytics automatically logs app launches and screen views, so there's no need to manually add those.
Stick to Consistent Naming Conventions
Event names are case-sensitive, so "user_signup" and "User_Signup" are treated as entirely different events in analytics tools. To avoid confusion, establish a consistent naming pattern and use descriptive names that clearly define the action being tracked.
Here are a few examples of well-structured events and their associated properties:
| Event | Properties |
|---|---|
| Sign Up | Device Type: iPhone 13, App Version: 4.6, Referral Source: PPC |
| Purchase | Order Value: $50.00, Order Item: Shirt A |
| Button Click | Feature: Sort by Price (Ascending), Load Time: 0.2 sec. |
| Search | Search Query: "shoes" |
Once your naming conventions and goals are clear, you can move on to implementing the tracking code.
Code Implementation Steps
The specifics of implementing tracking code depend on the SDK you're using, but the overall approach remains similar.
Firebase Analytics Implementation
Firebase Analytics makes it straightforward to log custom events. Here's an example of how to track a purchase event with relevant parameters:
val bundle = Bundle().apply {
    putString(FirebaseAnalytics.Param.ITEM_ID, "shirt_001")
    putString(FirebaseAnalytics.Param.ITEM_NAME, "Blue Cotton Shirt")
    putString(FirebaseAnalytics.Param.ITEM_CATEGORY, "Apparel")
    putDouble(FirebaseAnalytics.Param.VALUE, 29.99)
    putString(FirebaseAnalytics.Param.CURRENCY, "USD")
}
firebaseAnalytics.logEvent(FirebaseAnalytics.Event.PURCHASE, bundle)
Using Default Parameters
To simplify your code, you can set default parameters that automatically attach to all events:
val defaultParams = Bundle().apply {
    putString("app_version", "2.1.0")
    putString("user_type", "premium")
}
firebaseAnalytics.setDefaultEventParameters(defaultParams)
PostHog Implementation
PostHog uses a slightly different syntax but offers similar functionality. Here's how to log the same purchase event:
PostHog.capture(
    event = "purchase_completed",
    properties = mapOf(
        "item_id" to "shirt_001",
        "item_name" to "Blue Cotton Shirt",
        "value" to 29.99,
        "currency" to "USD"
    )
)
Handling Complex Event Data
For events involving multiple items or more detailed data, group parameters logically. For instance, an e-commerce app might need to track a shopping cart with multiple products:
val cartItems = arrayListOf<Bundle>()
cartItems.add(Bundle().apply {
    putString(FirebaseAnalytics.Param.ITEM_ID, "shirt_001")
    putDouble(FirebaseAnalytics.Param.PRICE, 29.99)
    putLong(FirebaseAnalytics.Param.QUANTITY, 2)
})

val bundle = Bundle().apply {
    putParcelableArrayList(FirebaseAnalytics.Param.ITEMS, cartItems)
    putDouble(FirebaseAnalytics.Param.VALUE, 59.98)
    putString(FirebaseAnalytics.Param.CURRENCY, "USD")
}
Testing and Verifying Event Tracking
Once you’ve set up your custom events, the next step is making sure they work as intended in both development and production environments. Skipping thorough testing can lead to missed events or incomplete data, which can ultimately impact your decision-making. Proper testing ensures your event tracking delivers accurate insights, helping you improve user engagement. Below, we’ll cover tools, troubleshooting steps, and common issues to keep your custom events running smoothly.
Debug and Monitoring Tools
Firebase DebugView for Real-Time Event Validation
Firebase DebugView is your go-to tool for checking custom event implementation during development. Unlike standard analytics data, which is typically batched and sent every hour to save battery life, DebugView shows events almost instantly when debug mode is active.
To enable debug mode on an Android device, use this ADB command:
adb shell setprop debug.firebase.analytics.app com.yourcompany.yourapp
Make sure to replace com.yourcompany.yourapp with your app’s actual package name. When you’re done testing, disable debug mode with:
adb shell setprop debug.firebase.analytics.app .none.
Once it’s active, DebugView will display recent events and user properties in near real-time.
Limitations of Debug Mode
Keep in mind that events captured in debug mode won’t be included in your main Analytics data or BigQuery exports. This ensures that test data doesn’t interfere with your production metrics. For this reason, it’s crucial to test events in both debug and production modes.
Additional Tools for Debugging
For deeper troubleshooting, you can enable verbose logging to get more detailed information:
- Set verbose logging tags.
- Use logcat to monitor SDK activity.
- Employ network proxy tools to inspect requests at a granular level.
Next, we’ll look at some common issues and how to resolve them effectively.
Common Issues and Solutions
Events Not Showing Up in DebugView
If your events aren’t appearing in DebugView, double-check the following:
- Ensure you’re using the correct package name.
- Clear the app’s storage and restart it completely.
- Verify that your device’s date, time, and timezone settings match those in the Analytics console. Mismatched settings can block events from appearing.
DebugView Not Detecting Your Device
If DebugView says “No devices available,” try rebooting your device and reinstalling the app. Also, make sure to fully terminate and relaunch the app after enabling debug mode - simply switching the app to the background and reopening it isn’t enough.
Events Visible in DebugView But Missing in Analytics Dashboard
If you see events in DebugView but not in the Analytics dashboard, remember that the main dashboard can take over four hours to process and display data. For quicker validation, use StreamView to view a real-time sample of production data.
Parameter Value Problems
When parameters appear as “(not set)” in reports, it’s often due to one of these issues:
- Parameter values exceeding the 100-character limit.
- Numeric values being sent as strings instead of integers, floats, or doubles. Check BigQuery to confirm the correct data types.
Network or Privacy Blocks
Ad blockers and tools like Pi-hole can block Analytics requests from reaching Google’s servers. Disable these tools on your testing devices. Additionally, if you’ve implemented privacy controls or consent management, events won’t appear in debug mode until the user provides the necessary consent.
For example, in February 2024, a user named Melody faced persistent issues with Firebase DebugView detection. The fix involved fully terminating and relaunching the app after enabling debug mode, rather than just reopening it from the background.
Validating Event Structure
Use DebugView’s detailed event view to check the "Event value" field and confirm that all parameters are being sent correctly. Note that custom parameters won’t show up in standard Analytics reports but can be used as filters in audience definitions or accessed via BigQuery exports.
Finally, make sure your event names and parameters comply with format and length requirements. Remember, event names are case-sensitive - “user_signup” and “User_Signup” are treated as completely different events. Proper naming and formatting are key to avoiding unnecessary complications.
sbb-itb-5174ba0
Best Practices and Legal Compliance
Once you've set up and tested your custom events, the next step is making sure your tracking strategy delivers reliable data while staying within legal boundaries. This section dives into practical tips for maintaining high-quality data and adhering to privacy laws, setting you up for success as your app evolves.
Maintaining Data Quality and Consistency
Establish Clear Data Governance Policies
Good data is the backbone of smart decision-making. Without accurate and consistent data, your analytics lose their value. Focus on key attributes like accuracy, completeness, timeliness, consistency, uniqueness, and relevance. To achieve this, create clear data governance policies that ensure everyone on your team follows the same tracking practices. Document everything - what each event represents, when it should trigger, and which parameters it should include.
Create a Centralized Tracking Plan
A centralized tracking plan is like a blueprint for your data. It ensures developers stay consistent and focus on capturing meaningful actions, like tracking when a user completes an account creation rather than just tapping "Sign Up". This approach helps you differentiate user intent from actual outcomes.
Implement Consistent Naming Conventions
Stick to a uniform naming system for events and parameters. This keeps your data organized and ensures it integrates smoothly with your analytics platform.
Monitor and Validate Data Quality
Regularly check your data for errors. Use validation techniques and tools to catch anomalies, clean up inaccuracies, and maintain data integrity.
Once your data quality is under control, the next priority is making sure your tracking aligns with privacy laws.
Privacy Laws and User Consent
Understanding US Privacy Regulations
Navigating privacy laws like GDPR, CCPA, and CPRA is essential to avoid penalties and build trust with users. In the U.S., the California Consumer Privacy Act (CCPA) and the California Privacy Rights Act (CPRA) give consumers greater control over their personal data. However, many users still find mobile app tracking confusing, which can lead to privacy concerns.
Implement Proper Consent Management
Before enabling SDKs or cookies, get user consent. Your consent flow should clearly explain what data is collected and why. A simple, user-friendly privacy policy is key - detail how data is collected, used, and shared, and outline users' rights. Also, provide an opt-out option and a rights management center to help users exercise their privacy choices.
Ensure Data Security and Vendor Compliance
Protect your data with strong passwords, multi-factor authentication, and encryption. Partner with vendors who meet your privacy standards and audit them regularly to ensure their practices remain compliant.
"In practice, data exchanges often take place between these different entities, with sometimes poorly defined sharing of responsibility. In particular, the use of SDKs processing personal data in a non-compliant manner and the non-compliant use of mobile identifiers have already been the subject of formal notices or penalties on the part of the CNIL." - CNIL
Practice Data Minimization
Only collect what you need. This not only reduces privacy risks but also improves app performance and lowers storage costs. Whenever possible, rely on first-party data collected directly from your users. This approach strengthens relationships and personalizes the user experience.
Planning for Future App Changes
Design for Scalability from the Start
A solid data framework ensures you're ready for future updates. Scalability is essential for maintaining user satisfaction and managing costs, especially as the app modernization market is expected to grow from $16.4 billion in 2023 to $43.9 billion by 2032. Consider cloud-based solutions that can adapt to your app's changing needs.
Learn from Real-World Failures
Take lessons from apps that struggled with scalability. For instance, Meta's Threads app faced stability issues during its 2023 launch, and Microsoft Outlook experienced outages during increased remote work usage. These examples highlight the importance of planning for high demand.
Implement Robust Architecture Practices
Build a scalable framework by aggregating requirements across platforms. Treat infrastructure as code to improve consistency and reduce deployment errors. Automate testing, provisioning, and deployments to speed up processes and minimize mistakes. Additionally, focus on testability with unit tests, automated integration tests, and strong error-handling systems to maintain resilience.
Control Data Collection Strategically
"Tracking everything is not a cost-effective solution. You need to plan and control what data you collect. Countly provides data governance tools where you can see all the data you are collecting and manipulate it, like edit, delete, block, redact, or mask it from some users." - Arturs Sosins, CTO @ Countly
Prioritize tracking the metrics and events that directly impact your key performance indicators (KPIs) rather than gathering every possible interaction. This approach aligns with privacy regulations and ensures your app's performance remains strong. Use analytics tools to stay flexible and identify growth opportunities. Finally, keep future trends in mind - like cloud integration and modular architecture - and monitor performance regularly to catch issues before they escalate.
Using the Marketing Analytics Tools Directory
In-app monetization has become a key revenue driver, and the Marketing Analytics Tools Directory simplifies the process of finding and evaluating analytics solutions for Android apps. Let’s dive into how this directory helps you zero in on the right tool for custom event tracking.
Directory Features and Navigation
The directory is organized to make your search for analytics tools as straightforward as possible. Tools are grouped into categories such as real-time analytics, campaign performance tracking, audience insights, A/B testing, business intelligence, reporting dashboards, enterprise tools, and big data solutions.
Advanced Filtering and Comparison Options
Filters are your best friend when navigating the directory. For example, if real-time event tracking is a must-have for your app, you can narrow your search to tools that specialize in that area. The directory also provides detailed information on each tool, including user ratings and review counts, making it easier to compare options side by side.
Detailed Tool Information
Each listing includes critical details about pricing, features, and integration capabilities. Whether you're looking for a free solution or an enterprise-grade platform, the directory ensures you have a transparent view of your options.
Choosing the Right Analytics Tool
Once you've explored the directory’s listings, the next step is selecting the analytics tool that aligns with your app’s goals. Research shows that companies using marketing analytics tools are 2.3 times more likely to outperform their competitors.
Define Your App’s Goals and Metrics
Start by identifying what you want to achieve and the metrics that matter most. Different tools excel in different areas. For instance:
- Firebase: Offers flexible hosting and crash reporting.
- Contentsquare: Focuses on customer journey mapping.
- Countly: Prioritizes privacy and security.
- AppsFlyer: Tailored for marketing teams.
For Android developers focused on custom event tracking, the directory highlights tools with advanced segmentation and real-time analysis. For example, Mixpanel provides robust event-based analytics, starting at $25 per month for its Growth plan, with a free tier for up to 100,000 monthly tracked users.
Evaluate Integration and Scalability
Make sure the tool integrates easily with your existing tech stack and can handle growth as your user base expands.
- Firebase integrates seamlessly with Google services and Android development tools.
- Amplitude offers advanced event tracking, starting at $49 per month for 1,000 tracked users.
If your app is poised for rapid growth, pay close attention to pricing structures. For instance, AppsFlyer offers a free plan for up to 10,000 monthly active users, while Kochava starts with a free plan for 10,000 conversions per month and scales to $500 per month for 33,000 conversions.
Prioritize Usability and Support
A tool’s ease of use and the quality of its support can make or break your team’s efficiency. Look for platforms with user-friendly interfaces and robust documentation.
- Userpilot boasts a 4.7/5 rating on G2.
- Countly emphasizes privacy and security, earning a 4.1/5 rating.
"Businesses that integrate multiple sources of customer data significantly outperform other companies." – Harvard Business Review
Also, remember that the priciest tool isn’t always the best fit. For example, Woopra offers a free plan for up to 500,000 actions per month, making it a good option for apps with high event volumes but tight budgets. Similarly, specialized tools like Survicate (rated 4.6/5 on G2) cater to specific needs like user feedback and surveys.
The Marketing Analytics Tools Directory simplifies all of this by offering side-by-side comparisons, user reviews, and detailed feature breakdowns. This makes it easier to choose a tool that meets your app’s custom event tracking needs and supports your long-term growth goals.
Conclusion
Custom event tracking in Android apps transforms user actions into actionable insights. This guide has covered both the strategic groundwork and the technical implementation needed to enhance your tracking efforts. In today's competitive app landscape, understanding user behavior through precise event tracking is essential for retention and growth.
Key Takeaways
Effective custom event tracking begins with thoughtful planning and focused execution. Instead of tracking every possible interaction, successful apps define key questions about user behavior and link them to meaningful events and properties. A detailed event-tracking plan becomes the foundation for reliable data collection.
Organizations that rely on data-driven decisions report 89% higher customer retention rates and 8–10% profit increases. These results highlight the value of custom events, which act as milestones in the user journey, helping to uncover bottlenecks and identify opportunities for growth.
Best practices for implementation include avoiding data overload and prioritizing events aligned with immediate business goals. Defining event parameters adds context to your data, while documenting your tracking plan ensures consistency across teams and simplifies data validation.
From a technical perspective, successful setup requires careful SDK integration, consistent naming conventions, and rigorous testing. Debugging and monitoring tools are critical for verifying event accuracy, and privacy compliance measures, including user consent, should be established from the outset.
"Mobile app event tracking fixes this disconnect by capturing every meaningful interaction: the clicks, scrolls, and behavioral patterns revealing what the users want."
– Kevin O'Sullivan, Head of Product Design
Custom event tracking not only facilitates personalized user engagement - leading to better satisfaction and business outcomes - but also requires that tracking goals align with your app’s unique structure and capabilities. Continuously refining your strategy ensures a smooth transition from analysis to impactful execution.
Next Steps
Put your event tracking to the test. Analyze the data to uncover patterns in user behavior, identify drop-off points, and highlight features that drive engagement.
Use this data to create personalized experiences, such as triggering in-app messages or push notifications based on user actions. This shifts your approach from passive data collection to active engagement strategies. Adding event parameters can provide richer insights, while marking key events allows for closer monitoring.
"The goal is to turn data into information, and information into insight."
– Carly Fiorina, Former CEO of HP
As you gather more insights, refine your approach. Adjust your tracking strategy, fine-tune event parameters, and enhance your app’s user experience. Use your analytics platform to create custom dimensions and metrics, enabling deeper analysis of event parameter values in reports.
Finally, explore the Marketing Analytics Tools Directory for tools that meet your evolving needs. Whether you're looking for real-time analytics, advanced reporting, or enterprise-grade solutions, the directory offers filtering and comparison features to help you find the perfect fit.
Achieving success with custom event tracking means balancing robust data collection with respect for user privacy and app performance. Regularly analyze your data and adjust your strategy to ensure your tracking remains effective and aligned with your app’s growth.
FAQs
How can I select the best SDK for custom event tracking in my Android app?
When selecting an SDK for custom event tracking in your Android app, your choice should align closely with your app's specific requirements and objectives. Focus on SDKs that are compatible with your app's target platforms and offer robust features for tracking events. These might include tools for analyzing user behavior, monitoring campaign performance, or managing ad mediation.
Key factors to evaluate include how easy the SDK is to integrate, the clarity and quality of its documentation, and the availability of ongoing support. It's also important to choose an SDK that integrates smoothly with your existing tools and supports your analytics goals, making it easier to make data-driven decisions. Lastly, take into account the SDK's reputation and the strength of its community support to ensure it remains reliable and up-to-date over time.
What are the best practices for naming and organizing custom events in Android apps?
To set up effective custom event tracking in Android apps, keep these practices in mind:
- Stick to a verb-first naming style to make event actions clear (e.g.,
Purchase_Completed,Button_Clicked). - Ensure event names are concise and descriptive, aiming for fewer than 25 characters.
- Align event names with the app's functionality and user experience to keep them intuitive.
Before diving into implementation, define the specific goals for the data you want to collect. Focus on events that offer actionable insights and group them into categories like user actions, performance metrics, or engagement levels. You can also take advantage of Android's tracing API to label important code sections, which can assist in analyzing and improving performance.
By sticking to these guidelines, you'll build a structured tracking system that provides meaningful analytics and supports smarter decisions.
How can I make sure my custom event tracking in Android complies with privacy laws like the CCPA?
To make sure your custom event tracking on Android meets privacy laws like the California Consumer Privacy Act (CCPA), it's essential to focus on user consent and being transparent about data practices. Start by implementing consent tools that allow users to approve data collection, and make your data collection policies clear and accessible in your privacy policy.
Incorporate features such as opt-out options, IP anonymization, and data minimization to give users more control over their personal information. It's also a good idea to regularly review how your app handles data to confirm it stays in line with CCPA guidelines. Working with analytics providers that offer built-in tools for compliance can make this process easier and help you stay on track with privacy regulations.